Hey guys it's really me!!! Life has just been so busy, todays video - Life Update, Recipe Wednesday, Stampin Up Updates - Last but not least - A cute fall wedding card!!!
Wednesday, October 8, 2025
Recipe Wednesday, Stampin Up Updates, Wedding Card
Friday, August 15, 2025
2025-2027 In Color - Cloud Cover
Friday, August 1, 2025
Beautiful Gallery DSP - Thank You Card
I absolutely love the Beautiful Gallery DSP. It just reminds me of my grandma. Gives me that warm, old fashion, simple feeling that I miss dearly. I'm still working on Thank You's for an order but remember any card can be changed just by switching the sentiment. This would be a beautiful birthday, sympathy or a Mother's Day Card.
Supplies
Cut 71/2 x 5 1/2 - Score 3 1/4
Cut 5 x 3 3/4
Monday, June 2, 2025
Graduation Cap - Gift Card Holder
The picture does not do this gift card holder justice... It looks like it's off center, but I promise you it's not. I love making it. However, my tassel on the top of the card is another story!! *lol*... I'm still taking orders as well... Message me or email, if you'd like some grad cards!!
Supplies
Cut 4 1/4 x 9 7/8
Thursday, May 8, 2025
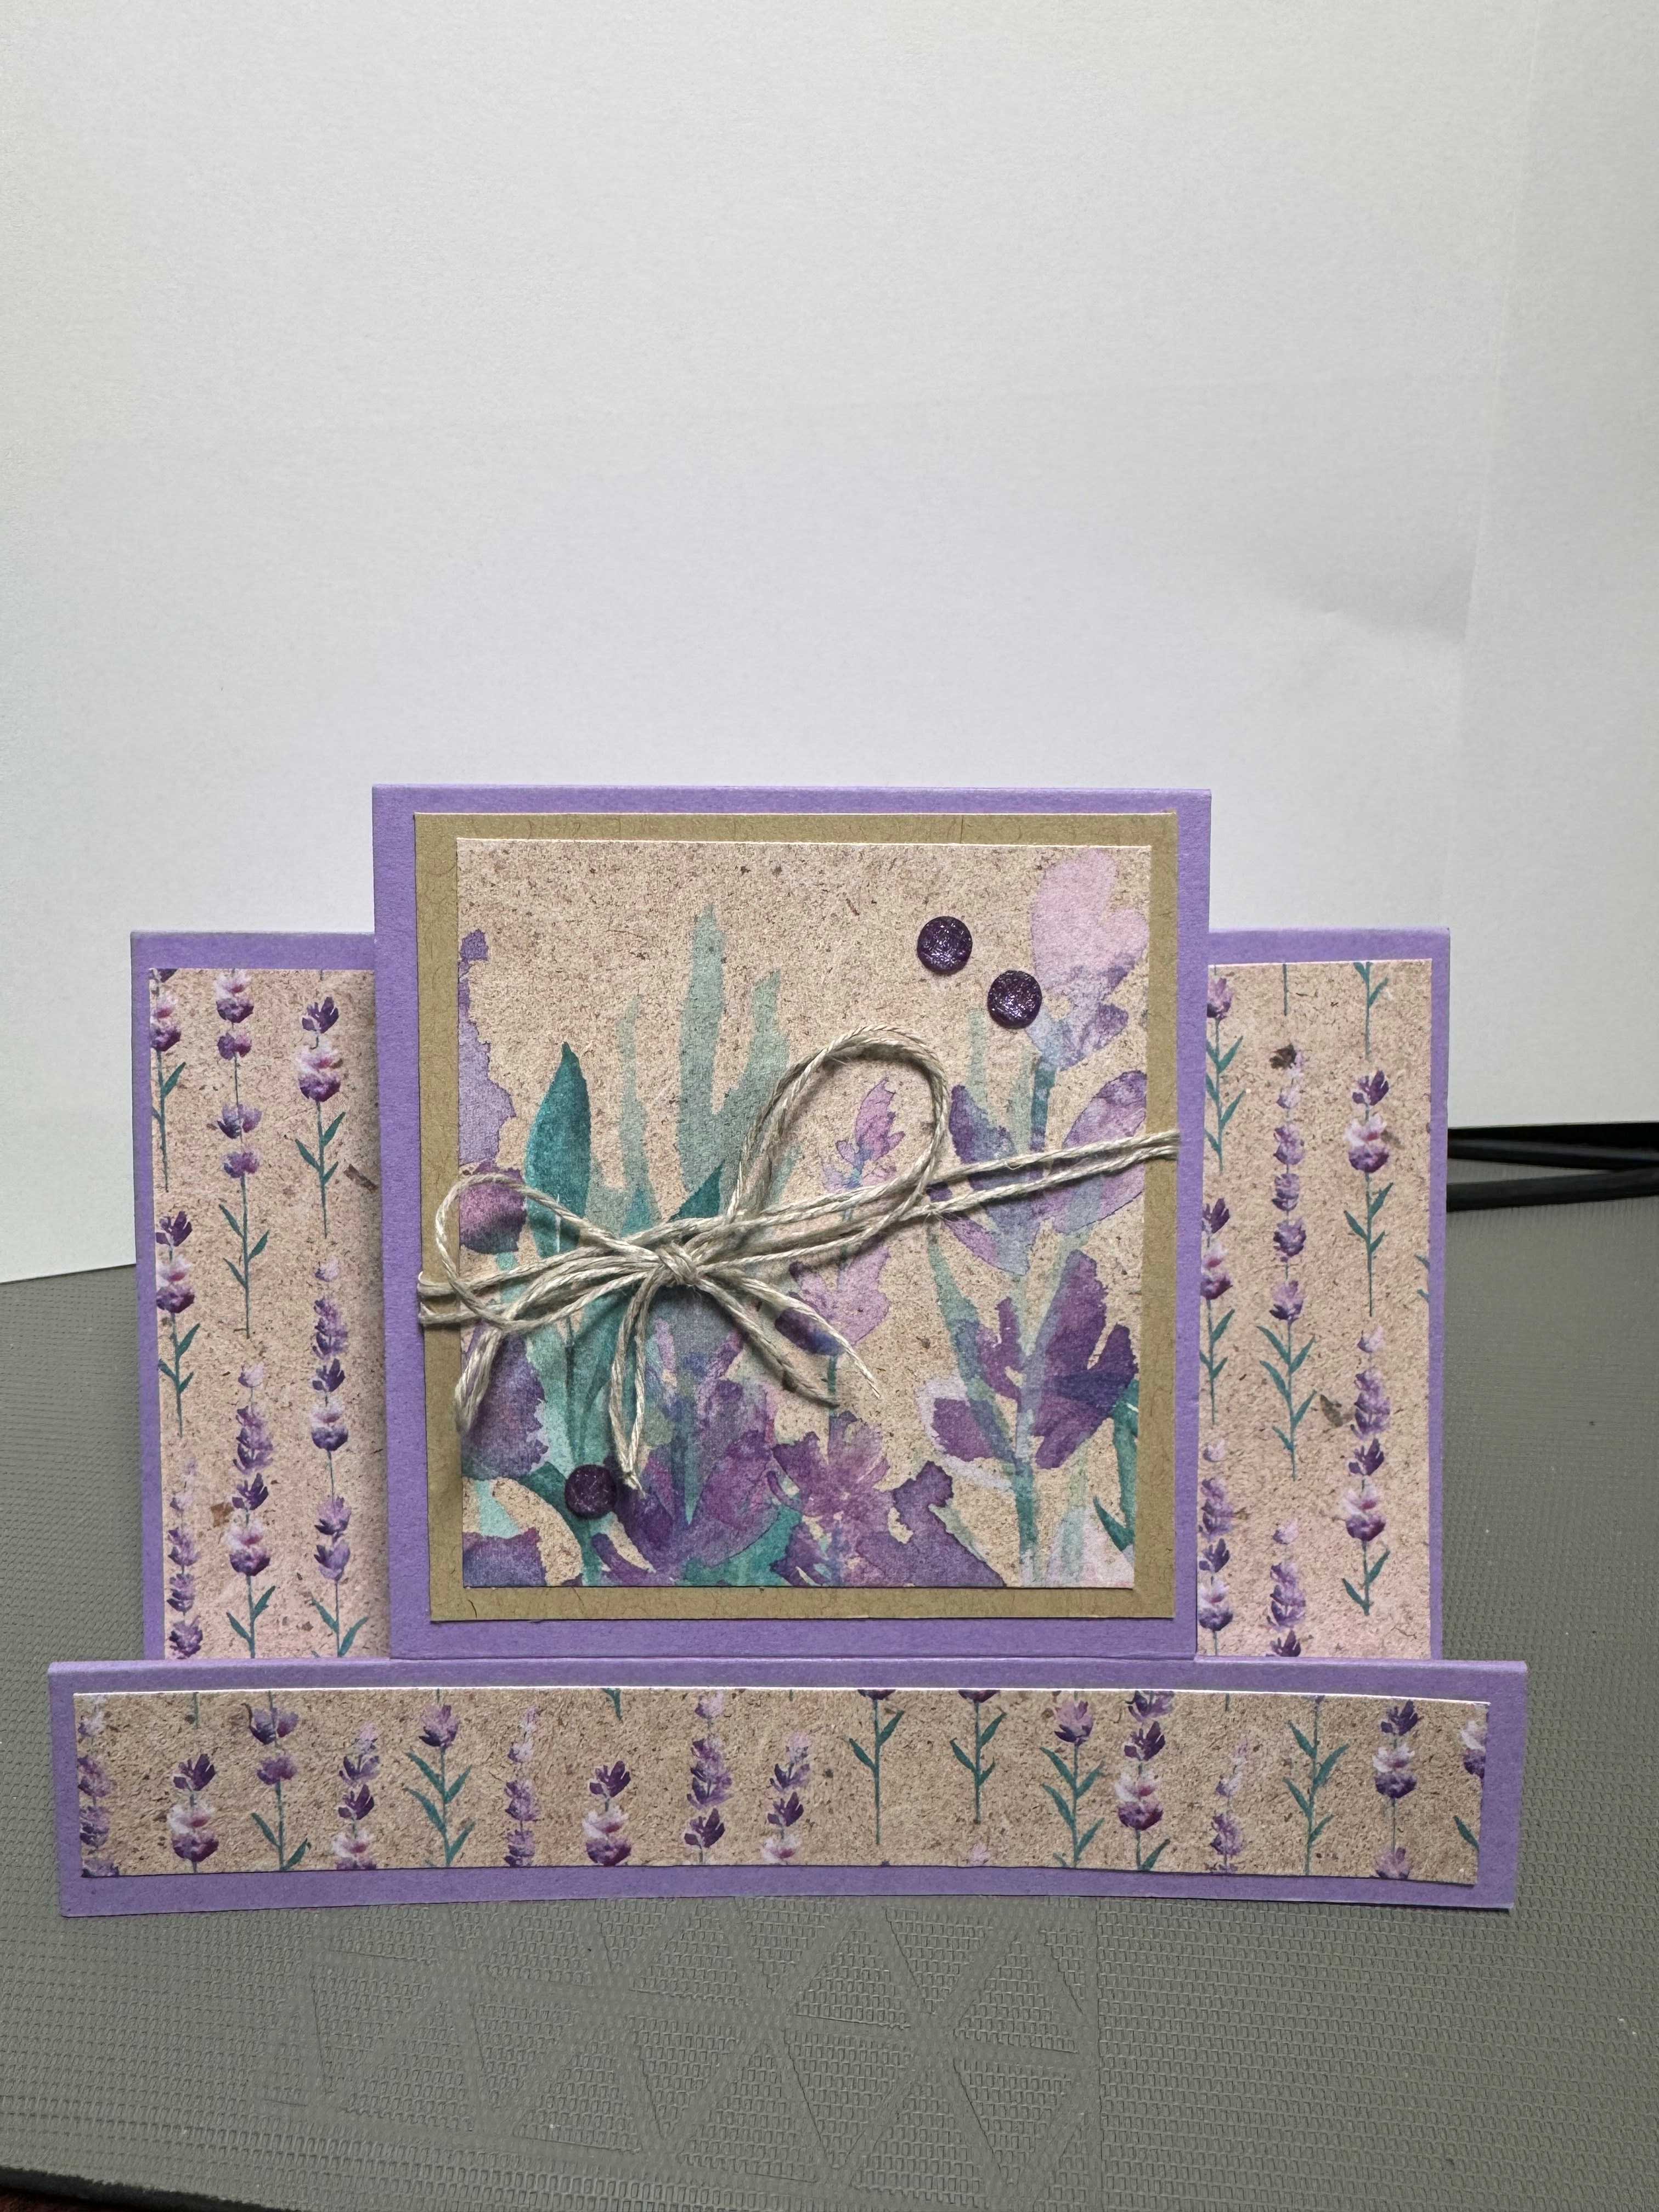
CENTER STEP FUN FOLD CARD - Perennial Lavender DSP - Mother's Day Card
I absolutely love how this card turned out. It's really not that hard but I on the other hand struggled with so many things!!! Measurements, paper coordination, I was just OFF.. In the video I am a total squirrel. So, if you can bear with the video, it will show you how to do the card and the measurements - maybe just mute me *lol*. I've listed below the steps to make this amazing fun fold.
SUPPLIES & Directions
Cut cardstock 5 ½ x 8 ½. Place the 5 ½ side of card base into the trimmer with the left edge at the 1 ¼ inch mark. Move trimmer blade down to the 1-inch mark (don’t cut). Then cut from the 1-inch mark down to the 5 ¼ mark. Then slide card base to the 4 ¼ inch mark & repeat the above step (cut from the 1-inch mark down to the 5 ¼ mark).
Fold
The small border is the front of the card. Fold it up (mountain) then next score mark fold down(valley) then up again. Using your bone folder, crisp up your folds.
Cut Perennial Lavender DSP – I# 162593 - 3 x 1 inch - you will need 2 strips this size. Make sure to watch the way the pattern runs when cutting, so you get it the way you want.
I cut the same pattern of Perennial Lavender DSP – I# 162593 ¾ x 5 ¼ for the bottom border. Again, make sure to watch the way the pattern runs when cutting.
I used Crumb Cake Cardstock- I# 120953 and cut a piece 2 ¾ x 3.
cut it 2 1/2 x 2 3/4. I adhered the lavender to the crumb cake but before I adhered to the card base, I wrapped Linen Thread – I# 104199 around twice - glued it down in the back, then adhered it to the card base. Made a bow using Linen Thread – I# 104199 and adhered it with a Mini Glue Dot - I# 103683. I embellished with Purple Fine Shimmer Gems – I# 162611.
INSIDE CARD
Friday, May 2, 2025
Fishing -Thank You - Cards - Let me be your dealer!!!
I finished this special order of Thank You's for the bass club!! If you need cards, any cards, reach out to me ... I'd love to be your dealer....
$4.50 per card or 3 / $12.00 - I can ship anywhere - will just add postage to your order. If local we can always meet up for delivery!!!
Friday, March 28, 2025
Fun Fold Friday - Drapery Fold
I loved making these cards. I was amazed at how easy the fun fold was to do. Listed below are the supplies I used and the sizes. Just remember to use a double-sided DSP and when scoring don't press as hard as you normally would on cardstock. DSP paper is thinner and easier to manipulate.
Cut – 5 ½ x 8 ½ - Scored 4 ¼
Tuxedo Black Memento Ink – I# 132708
Festive Pearls – I# 159963
Light Old Olive Stampin’ Blend – I# 144574
Scored – 1 ¼, 1 ¾ , 2 ¾, 3 ¼, 4 ¼, 4 ¾, 5 ¾, 6 ¼, 7 ¼,
7 ¾
Then fold & adhere to the white stamped card
front.
Cut – 4 ½ x ¼ Or Use ribbon of choice
INSIDE:
Cut – 5 3/8 X 4 1/8
Basic White Cardstock – I# 166780
Cut 5 1/8 x 3 7/8
Corner in Bloom – I# 164959
Flowers
Tuxedo Black Memento Ink – I# 132708
Thursday, March 27, 2025
Stampin’ 201 Series - Video #3 - Blending Brushes
In this video we learn about using the blending brushes. It is such an easy way to add dimension, color and background to your cards. Down below is the list of supplies used to make these 3 cards.
Thursday, March 20, 2025
The Old with the New......
I pulled out a new stamp and used a couple of my older stamps to make this card. And yep, I love, love, love it!!!
Monday, March 10, 2025
Mixed Media Florals Suite
I am lovin' the "Mixed Media Floral Suite Collection". I made this card as a Thank- you and then turned around and made it as a Birthday card.
Friday, March 7, 2025
Stampin' 101 Series - Video # 9 - Punches
Pre-Order Unboxing!!!
I n this video, I unbox all new 2026-2028 New In - Colors!! I absolutely love the Golden Glow & Peaceful Pine. Let me know which is y...
-
Check out the sneak peak on the next 3 Paper Pumpkin kits !!!! Subscribe Here: #stampinup #paperpumpkin #craftkits #crafting #holidaycra...
-
I told you I loved, loved, loved this paper... I hope you don't get tired of it, I know I won't *lol* Shop With Me Supplies Crumb ...
-
When Paul and I were on Keto, this recipe was a weekly recipe. Now that I can't do Keto due to the fact that it is so high in fat, we...